利用webpack打包html资源有什么好处?下面web建站小编给大家讲一下三大好处!
webpack打包优势
1、可以自动将打包后的js文件引入html
2、html打包后依然会生成在build文件夹下和打包后的js文件放在一起,这样上线的时候我们只需要将打包生成的文件夹一起拷贝到上线环境就可以了!
3、会帮我们压缩html文件
webpack打包操作
1、安装插件
npm install html-webpack-plugin -D
2、webpack.config.js配置
// 安装好html-webpack-plugin插件后,需要在webpack.config.js文件中进行配置:

// 1. 引入插件
const HtmlWebpackPlugin = require('html-webpack-plugin');

module.exports = {
  // 2.在plugins中配置插件
  plugins: [
    new HtmlWebpackPlugin({
      template: 'index.html', // 指定入口模板文件(相对于项目根目录)
      filename: 'index.html', // 指定输出文件名和位置(相对于输出目录)
      // 关于插件的其他项配置,可以查看插件官方文档
    })
  ]
}
3、多JS入口和多HTML情况的配置
const path = require('path');
// 1. 引入插件
const HtmlWebpackPlugin = require('html-webpack-plugin');
module.exports = {
  // ...
  // 2. 配置JS入口(多入口)
  entry: {
    vendor: ['./src/jquery.min.js', './src/js/common.js'],
    index: './src/index.js',
    cart: './src/js/cart.js'
  },
  // 配置出口
  output: {
    filename: '[name].js',
    path: path.resolve(__dirname, 'build/js')
  },
  // 3. 配置插件
  plugins: [
    new HtmlWebpackPugin({
      template: 'index.html',
      filename: 'index.html',
      // 通过chunk来指定引入哪些JS文件
      chunk: ['index', 'vendor']
    }),
    // 需要编译多少个HTML,就需要new几次插件
    new HtmlWebpackPlugin({
      template: './src/cart.html',
      filename: 'cart.html',
      chunk: ['cart', 'vendor']
    })
  ]
}
上面的配置编译成功后,输出情况是这样的:
build
|__ index.html # 引入index.js和vendor.js
|__ cart.html    # 引入cart.js和vendor.js
|__ js
     |__ vendor.js # 由jquery.min.js和common.js生成
     |__ index.js    # 由index.js生成
     |__ cart.js       # 由cart.js生成
压缩打包html资源实例
1、webpack.config.js配置
const HTMLWebpackPlugin = require('html-webpack-plugin')
...
 plugins: [
    // html-webpack-plugin  html 打包配置 该插件将为你生成一个 HTML5 文件
    new HTMLWebpackPlugin({
      template: "./index.html", // 打包到模板的相对或绝对路径 (打包目标)
      title: '首页', // 用于生成的HTML文档的标题
      hash: true,//true则将唯一的webpack编译哈希值附加到所有包含的脚本和CSS文件中。主要用于清除缓存,
      minify: {  // 压缩html
        collapseWhitespace: true, // 折叠空白区域
        keepClosingSlash: true,  // 保持闭合间隙
        removeComments: true,   // 移除注释
        removeRedundantAttributes: true, // 删除冗余属性
        removeScriptTypeAttributes: true,  // 删除Script脚本类型属性
        removeStyleLinkTypeAttributes: true, // 删除样式链接类型属性
        useShortDoctype: true, // 使用短文档类型
        preserveLineBreaks: true, // 保留换行符
        minifyCSS: true, // 压缩文内css
        minifyJS: true, // 压缩文内js
      }
    }),
  ],
...
2、index.html代码
<!DOCTYPE html>
<html lang="">
  <head>
    <meta charset="utf-8">
    <meta http-equiv="X-UA-Compatible" content="IE=edge">
    <meta name="viewport" content="width=device-width,initial-scale=1.0">
    <title>webpackDemo</title>
  <script defer src="index.js"></script></head>
  <body>
    <div id="app">
      html 打包配置
    </div>
  </body>
</html>
3、index.js代码
import './../css/index.less'

function add(x,y) {
 return x+y
}
console.log(add(2,3));
上面是“webpack中可以打包html资源吗?”的全面内容,想了解更多关于 前端知识 内容,请继续关注web建站教程。
当前网址:https://ipkd.cn/webs_2307.html
猜你喜欢
声明:本站提供的所有资源部分来自互联网,如果有侵犯您的版权或其他权益,请发送到邮箱:admin@ipkd.cn,我们会在看到邮件的第一时间内为您处理!

 html5表单input控件有哪些?
 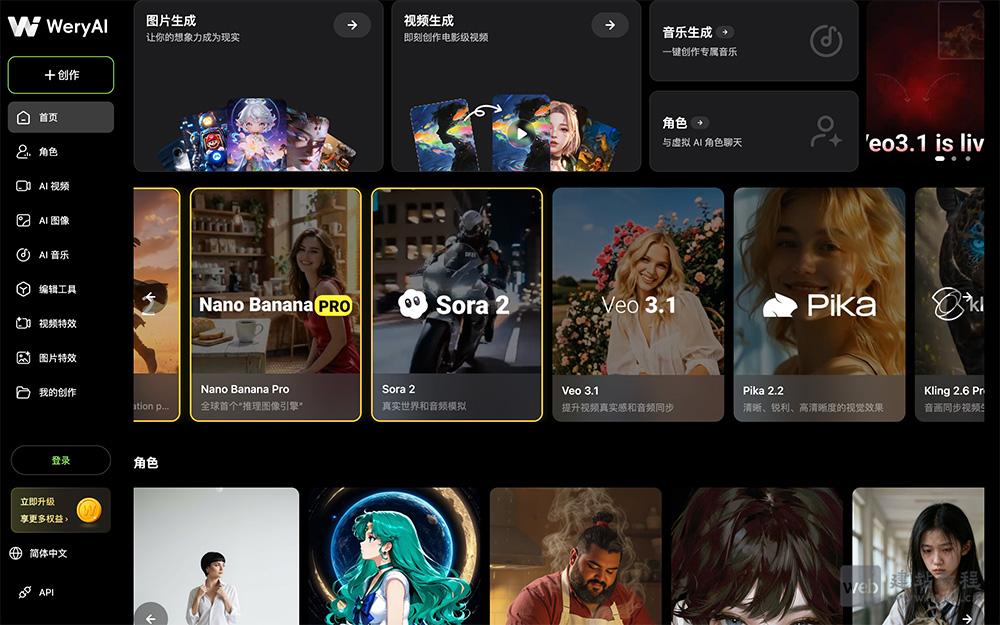 WeryAI:整合Kling、Sora、Flux等模型于一体的AI创意创作平台
  MOVA模型:中国首个高性能开源音视频端到端生成模型